

The best hide in the garden is usually the kitchen. You are warm, the kettle is on, and the birds carry on within a couple of metres as though you were not there at all. Nobody has to lug a tripod across a muddy field at dawn. The catch, of course, is the glass between you and the subject. It adds reflections, smears and a faint cast, and it quietly steals the sharpness you paid for when you bought your lens.
None of that is difficult to fix, but it has to be tackled in the right order: the room first, then the glass, then the camera. Get those three right and a window becomes a genuinely useful piece of equipment.
Start with the room, not the lens
Almost every reflection you see in a window is something in the room being lit up and bounced back at you. So before you touch the camera, deal with the light behind it.
Turn off the kitchen lights. Close the curtains or blinds behind you. If you are shooting in a room with pale walls and a bright ceiling light, wear something dark, and consider taping a sheet of black card or a dark cloth to the window frame so it shields the glass on your side. It looks eccentric. It works.
Televisions, monitors and phone screens are the worst offenders, because they are bright and they are usually at eye level. Switch them off, or move so they are not reflected in the pane you are shooting through. A reflection of a laptop screen across a blue tit's breast is a miserable thing to find when you download the card.
Clean the glass properly
This sounds obvious and is nearly always underestimated. A thin film of grease, a smear from a previous attempt, or a few spots of dried rain on the outer pane will soften every image you take, and no amount of sharpening in editing will bring it back. Clean both sides if you can reach them, outside first.
- Use a proper glass cleaner or warm water with a small drop of washing-up liquid, plus a clean microfibre cloth.
- Work on the outer pane first to shift pollen, dust and rain spots, then do the inside.
- Buff the glass dry rather than letting it air-dry, which leaves streaks.
- Avoid cleaning in direct sunlight; the solution dries before you can polish it.
- Take out insect mesh, net curtains and any stick-on film. Mesh in particular will ruin detail.
- Check your work by looking along the glass at a steep angle against a dark background. Smears and hazing show up immediately.
Remember that double glazing means two panes and two chances of a smear, and some units carry a slight tint that shifts colour. That tint is easy to correct later, but you cannot correct a greasy fingerprint.
Get the lens as close to the glass as you can
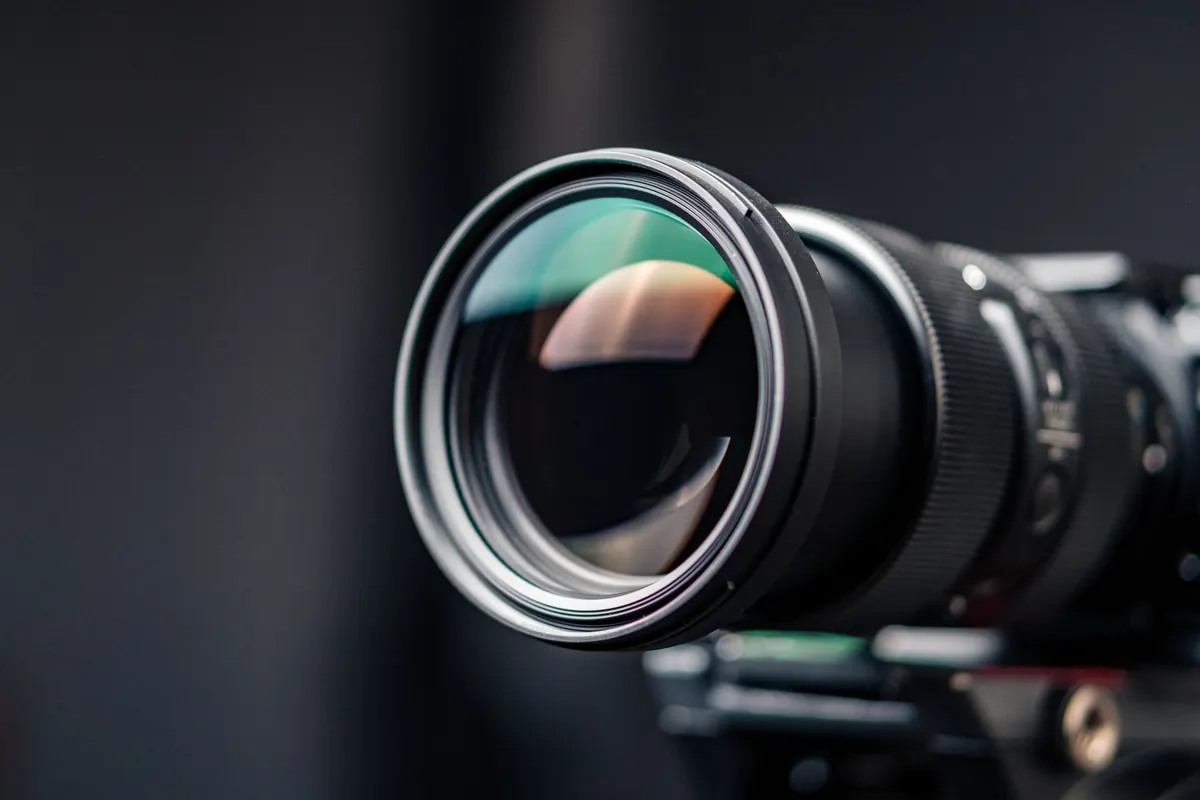
Distance is the enemy. The further your front element sits from the pane, the more window you are photographing through, and the greater the chance of catching something behind you in the frame. Push the lens hood right up against the glass, or within a few millimetres of it.
A rubber lens hood is ideal here, because it seals against the pane without scratching it. Failing that, drape a dark cloth or an old fleece around the lens barrel and let it rest on the glass. That single trick kills most internal reflections outright.
Shoot as close to perpendicular as you can. Angled shots travel through more glass and smear detail, and reflections become much harder to control. Rest the lens on a folded cloth on the sill if you are not using a tripod, and keep your hands off the frame itself, which transmits every knock straight into the image.
What not to do
Do not use flash through a window. It fires straight back at you and turns the pane into a mirror. Do not tap the glass to get a bird's attention, and do not open the window unless you are prepared to sit in the cold and accept that the birds may notice the gap.
Camera settings for birds that will not sit still
Small garden birds twitch constantly. Sharpness comes from shutter speed first and everything else second.
- Mode: manual, or shutter priority if you would rather not think about it.
- Shutter speed: 1/1000 sec or faster for a bird hopping about, 1/500 sec for a settled one, 1/2000 sec if you are trying for take-off.
- Aperture: somewhere between f/5.6 and f/8. Wide open is fine if the background is well behind the bird.
- ISO: auto, with an upper limit of around 3200 to 6400. A slightly grainy sharp photograph beats a clean blurry one every time.
- Autofocus: continuous, with a small zone or single point. If your camera has animal eye detection, use it, and aim for the eye.
- Drive mode: short bursts of three or four frames rather than long sprays.
- File format: raw, so you can fix white balance and lift shadow detail later.
Watch your metering. A bird against a bright sky will come out as a silhouette unless you add exposure compensation, so try plus one stop and adjust from there. A bird against a dark hedge often needs a touch of minus. Spot or centre-weighted metering aimed at the bird is more reliable than a full-frame average.
Give them something worth photographing
The plastic feeder is not the picture. Push a lichened branch, a mossy stump or a piece of weathered wood into position near the feeder and let the birds queue on it before they drop in to eat. Within a day or two they will use it as a staging post, and that is your shot.
Think about what sits behind the perch. A hedge ten metres back will blur into a soft green wash; a fence, a wheelie bin or a washing line will not. Place the perch roughly two to five metres from the window so a 200–400mm lens fills the frame with a small bird, and check the angle of the sun from your seat before you commit.
Work the light
Morning sun on the feeder is the classic setup, but do not dismiss a flat overcast day. Grey light is soft and even, and it coaxes out feather detail that harsh sunlight blows away. What you want to avoid is shooting into the sun through the glass, which flattens the bird and lights up every smudge on the pane.
A small catchlight in the eye lifts a bird photograph enormously, so watch for the light falling across the face rather than from directly behind. If your images come out with a green or slightly yellow cast from the glazing, the bird's white feathers or a grey card held near it will give you something neutral to set the white balance against.
A ten-minute routine that works
- Clean the outside and inside of the pane; let it dry and buff it clear.
- Turn off lights and screens, close the curtains behind you, put on something dark.
- Set the lens hood or a cloth hard against the glass and shoot square on.
- Set 1/1000 sec, f/6.3, auto ISO, continuous autofocus, burst mode.
- Focus on the eye, wait for the bird to pause, and take three frames rather than twenty.
- Review one image at full size before you carry on. If it is soft, the glass is usually the reason.
Then settle in. Keep still, move slowly, and accept that some mornings nothing much happens. The advantage of shooting from indoors is that you can put the camera down, make another cup of tea and try again in half an hour. One word of caution worth remembering: feeders placed either very close to a window or a good distance from it are safer for birds than those in the awkward middle ground, so check your setup from the birds' point of view as well as your own.
Related posts
More stories you’ll love reading